1. Introduction
Sap is a sticky, gooey substance that can be found on cars and other surfaces. It is usually caused by trees, shrubs, and other plants that have come into contact with the car. Sap can damage the paint on a car if left untreated and can also attract dirt, dust, and other contaminants. Removing sap from a car is not always easy but it can be done with the right tools and techniques. This article will provide a step-by-step guide on how to remove sap from a car as well as some tips for avoiding or minimizing sap damage in the future.
2. What is Sap?
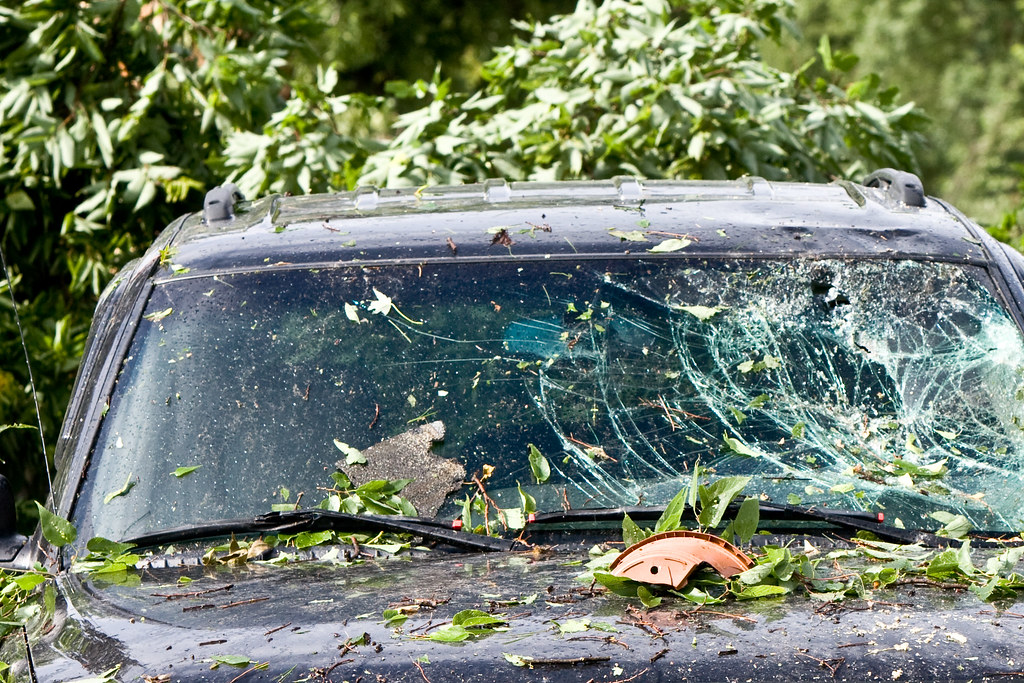
Sap is a sticky residue that is produced by certain plants such as trees and shrubs. It contains sugars and other substances that are beneficial to the plant but can be damaging to cars if left untreated. The sap itself can be either clear or dark in color depending on what type of plant it comes from. When sap comes into contact with a car’s paint, it acts like glue and sticks to the surface, making it difficult to remove without causing damage to the paint job.
3. How to Identify Sap on a Car
Identifying sap on your car is relatively easy; it will appear as either clear or dark spots on your paint job or windshields/windows depending on what type of plant it came from. If you come across any spots that look like they could be sap, try wiping them off with your finger or a soft cloth before attempting any further cleaning methods as this may be enough to get rid of them without causing any damage.
4. Tools and Materials Needed to Remove Sap from a Car
Removing sap from your car requires some special tools and materials in order to do so without damaging your paint job further. You will need:
• Soft cloths
• Isopropyl alcohol
• Car wax
• Automotive soap
• Toothbrush (optional)
5. Step-by-Step Guide on How to Remove Sap from a Car
1) Start by wetting down the area where you’ve identified the sap with warm water using one of the soft cloths provided above; this helps soften up the residue for easier removal later on in the process.
2) Pour some of the Isopropyl alcohol onto another soft cloth and gently rub at the area where you’ve identified sap until you see it start to break up; if necessary, use an old toothbrush dipped in Isopropyl alcohol for extra scrubbing power (be careful not to use too much force here).
3) Rinse off any remaining residue using warm water before moving onto waxing; this helps ensure all traces of sap have been removed without damaging your paint job further.
4) Apply automotive soap according to manufacturer instructions before waxing; this helps protect against future damage caused by UV rays or road debris while also providing an extra layer of protection against future instances of sap sticking onto your car’s surface again!
5) Finally, apply car wax according to manufacturer instructions; this helps provide an extra layer of protection against future instances of sap sticking onto your car’s surface again!
6 Tips For Removing Sap From A Car
1) Always wear protective gloves when handling Isopropyl alcohol as it can cause skin irritation if left exposed for too long; also make sure you are working in well-ventilated areas away from open flames or sparks!
2) Never use harsh chemicals such as acetone or bleach when removing sap as these could potentially damage your paint job further; instead opt for natural solutions such as lemon juice or vinegar which are both effective at breaking down stubborn residues without harming your vehicle’s exterior finish!
3) Always test out any cleaning solution you plan on using beforehand in an inconspicuous area first just so you know how well it works before applying directly onto visible surfaces; this way if something does go wrong then at least you won’t have ruined any major parts of your vehicle’s exterior finish!
4) If possible try removing any excess resin before attempting more aggressive cleaning methods such as using Isopropyl alcohol; this will help minimize potential damage caused by harsher chemicals while still getting rid of stubborn residues effectively!
5) After each step make sure you properly rinse off any leftover residue with warm water before moving onto waxing; this helps ensure all traces of sap have been removed without causing additional harm during removal process!
6) Once finished applying wax make sure you properly buff out any excess residue until smooth finish has been achieved; this will help protect against future instances of sap sticking onto your vehicles surface again!
7 Removing Difficult Or Hardened Sap From A Car
When dealing with hardened or difficult-to-remove deposits of tree/plant resin there are several methods which may prove helpful:
1) Use rubbing alcohol diluted 50/50 with water applied directly onto affected area using cotton swabs – allow time for solution to penetrate into hardened resin before attempting removal
2) Use commercial products specifically designed for removing tree/plant resins – these products often contain solvents which help break down hardened deposits quickly & easily
3) Use ice cubes wrapped in plastic wrap & applied directly onto affected area – allow time for ice cubes & plastic wrap combination work its magic before attempting removal
4) Use WD40 sprayed directly onto affected area followed up by gentle scrubbing motion – allow time for WD40 work its magic before attempting removal
8 Conclusion In conclusion, removing tree/plant resin from cars requires special care so as not cause further damage during removal process – however, following our outlined steps should help ensure successful results every time! With proper preparation & application techniques anyone should be able to remove even difficult deposits quickly & easily while avoiding potential harm caused by harsher chemicals & abrasives – good luck & happy cleaning!
9 FAQs Q: What type of tools do I need? A: You will need soft cloths, Isopropyl Alcohol, automotive soap, toothbrush (optional), and car wax Q: How long does it take? A: Depending on how much tree/plant resin needs removing from your vehicle’s surface – anywhere between 15 minutes up to an hour should suffice Q: Will my paint job suffer? A: If done correctly no – however always test out cleaning solutions first in an inconspicuous area just so you know how well they work prior applying directly onto visible surfaces
Unsticking Your Car: A Comprehensive Guide to Easily Removing Sap from Your Vehicle
Unsticking Your Car: A Comprehensive Guide to Easily Removing Sap from Your Vehicle
Does WD 40 remove tree sap?
WD40: This versatile product is an excellent pine sap remover.
Can tree sap permanently damage car paint?
The sap wont directly damage the car paint but you shouldnt ignore it. After a while the liquid can scratch the clear coat causing discoloration and stains.
Does rubbing alcohol remove sap from car?
Fortunately the most popular and readily available sanitizers are alcohol-based and their main ingredient (isopropyl alcohol or rubbing alcohol) helps remove fluids from your car without staining the paint.
Can rubbing alcohol damage car paint?
In addition to its disinfectant properties, rubbing alcohol is an affordable cleaning agent. However, it can be too strong on your cars paint when used in its concentrated form. In other words, the possible effects of using 99 percent isopropyl alcohol include stained or discolored paint or dissolving the clear coat.
Does Dawn dish soap remove sap from cars?
It is best to use Dawn if you have everything to clean the coating or remove old wax from tree sap before scratching. A completely clean surface is important before painting or removing light scratches on your car.
Will WD-40 damage car paint?
In addition to keeping bugs from hitting your vehicle WD-40 Bird Drops is also an excellent choice for removing tree sap and already trapped bugs. It wont damage your paint just remember to rinse it off with soap and water afterwards.