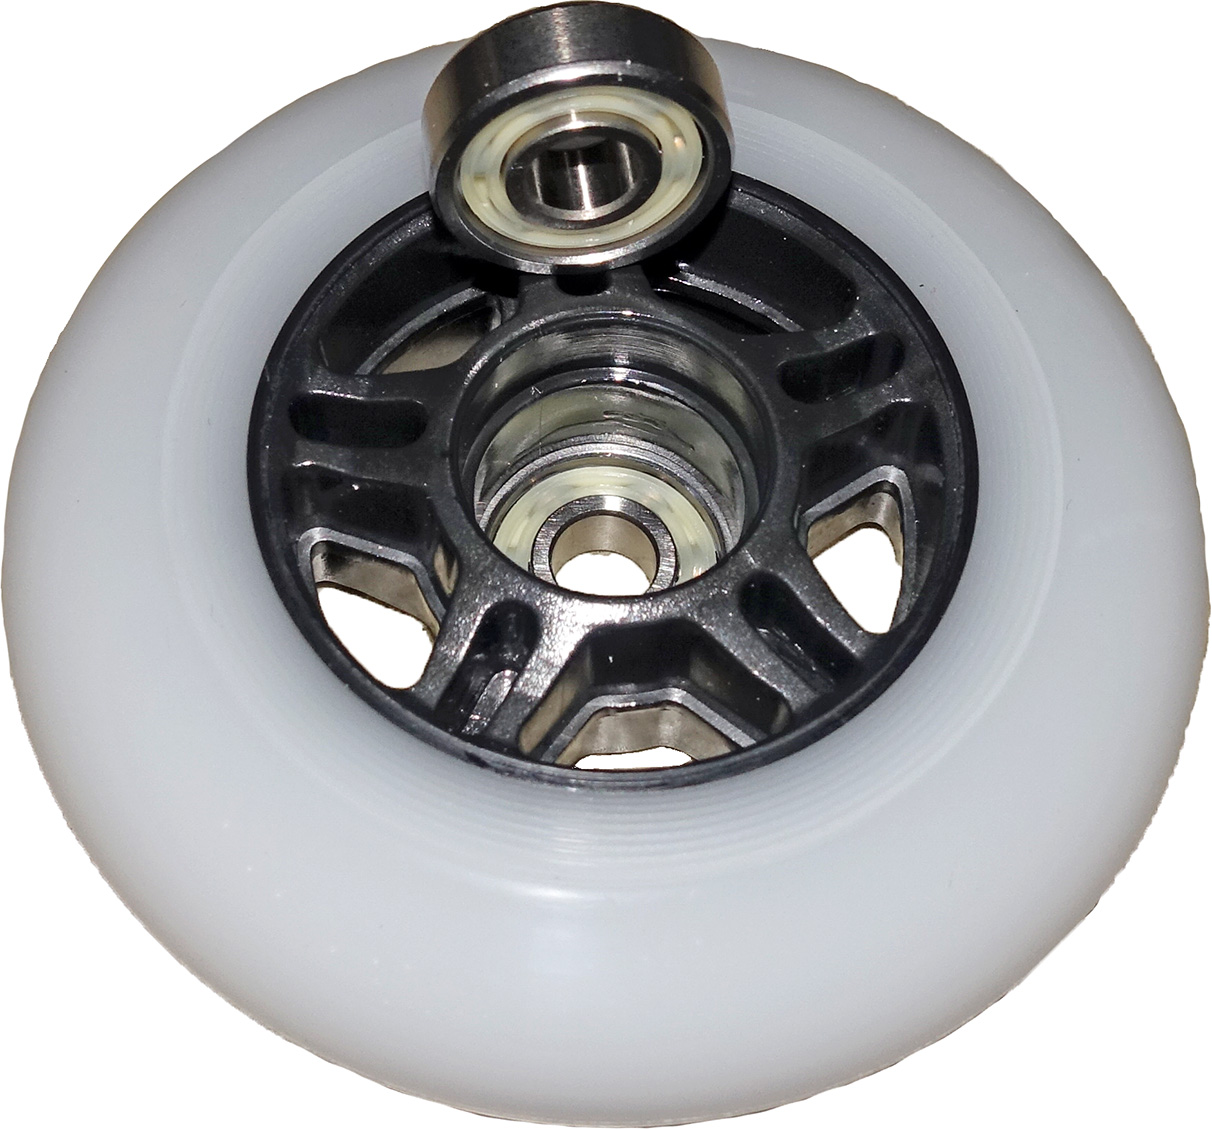
1. Introduction to Wheel Bearings
Wheel bearings are an essential part of your vehicle’s suspension system. They are responsible for allowing the wheel to rotate freely, which helps keep your car running smoothly and safely. Over time, wheel bearings can become worn out or damaged, leading to poor performance and increased wear on other parts of the suspension system. That is why it is important to replace them regularly. In this guide, we will show you how to change your wheel bearings quickly and easily.
2. Tools and Materials Needed for Changing Wheel Bearings
Before you start changing your wheel bearings, it is important to make sure you have all the necessary tools and materials on hand. These include a bearing puller, a torque wrench, a bearing press, grease, and new wheel bearings. You should also have safety glasses and gloves available in case of any mishaps during the process.
3. Removing the Old Wheel Bearing
Once you have all the necessary tools and materials ready, it’s time to remove the old wheel bearing from the hub assembly. Start by loosening the lug nuts on the wheel before jacking up the car so that you can access the hub assembly from underneath it. Then use a bearing puller to remove the old bearing from its housing in the hub assembly. Be sure to keep track of any shims or spacers that may come out with it as these will need to be replaced when installing your new wheel bearing.
4. Cleaning the Hub Assembly
Once you have removed the old bearing from its housing in the hub assembly, it is important to clean out any dirt or debris that may be present in order to ensure a proper fit for your new bearing when installed later on in this process. Use some brake cleaner or degreaser along with a rag or brush to thoroughly clean out any dirt or debris inside of your hub assembly before moving onto installing your new bearing later on in this guide.
5. Installing the New Wheel Bearing
Now that you have cleaned out your hub assembly, it is time for installing your new wheel bearing into place! First off make sure that all components such as shims or spacers are present before pressing in your new bearing into place using a bearing press tool (or an impact driver if one is not available). It is important that this step is done correctly as improper installation can lead to premature wear down of both components as well as an unsafe driving experience overall!
6 Securing The Bearing In Place
Once you have pressed your new wheel bearing into place inside of its housing in the hub assembly, it is now time for securing it into place properly! This can be done by using either lock nuts or cotter pins depending on what type of fastener was used previously when removing your old wheel bearing earlier on in this guide! Make sure that these fasteners are tightened down properly using either hand tools or an impact driver before moving onto testing and adjusting later on!
7 Testing And Adjustment Of New Wheel Bearing
After securing down all fasteners associated with your newly installed wheel bearings properly into place; it is now time for testing and adjustment! Start off by checking if there are any noises coming from around where you just installed them by spinning each respective tire while keeping an ear out for any strange noises coming from around those areas! If everything sounds good then move onto adjusting their pre-load settings (if applicable) by following manufacturer instructions until desired performance levels are achieved!
8 Conclusion
Changing wheel bearings may seem like a daunting task at first but with some basic knowledge about how they work along with some special tools; anyone can do it quickly and easily! We hope that this guide has been helpful in teaching you how to change yours safely so that they last longer while providing optimal performance levels throughout their lifespan!
9 Frequently Asked Questions (FAQs)
Q: How often should I replace my wheel bearings?
A: Generally speaking most manufactures recommend replacing them every 50K miles however; different vehicles may require different intervals so always refer back to manufacturer instructions when performing maintenance work such as this one!
A Step-by-Step Guide to Easily Changing Your Wheel Bearings!
Can I replace a wheel bearing myself?
Replacing your wheel bearings is considered an intermediate task that can be done at home but requires some special machine tools.
Is it hard to change a wheel bearing?
There are many moving parts between the wheel bearings and they are not easy to replace. It is best to take it to a mechanic unless you have a lot of training and experience.
How much does it usually cost to replace a wheel bearing?
Some variables include wages and parts costs from manufacturers and model garages. The national average for securing wheel bearings to a wheel is about $100.
How long does it take to change a wheel bearing by yourself?
This makes it difficult to give an overall time estimate but expect anywhere from 30 minutes to an hour and a half for the front and back nails.
How do I tell which wheel bearing is bad?
This can be checked by stopping the car while driving slowly. If the noise decreases when swinging to the right the damaged bearing may be on the left wheel bearing. If it falls while swinging to the left the right wheel bearing may break.
Can you drive a car with a wheel bearing out?
Question. Is it safe to drive with a damaged tire? Answer: Not really driving can be very dangerous if you have a worn bearing especially since it can lock the steering while driving. In addition a bad wheel bearing puts pressure on the constant speed connection of the hub and the gearbox itself.
